Melted Snowman Cookies Recipe
Introduction
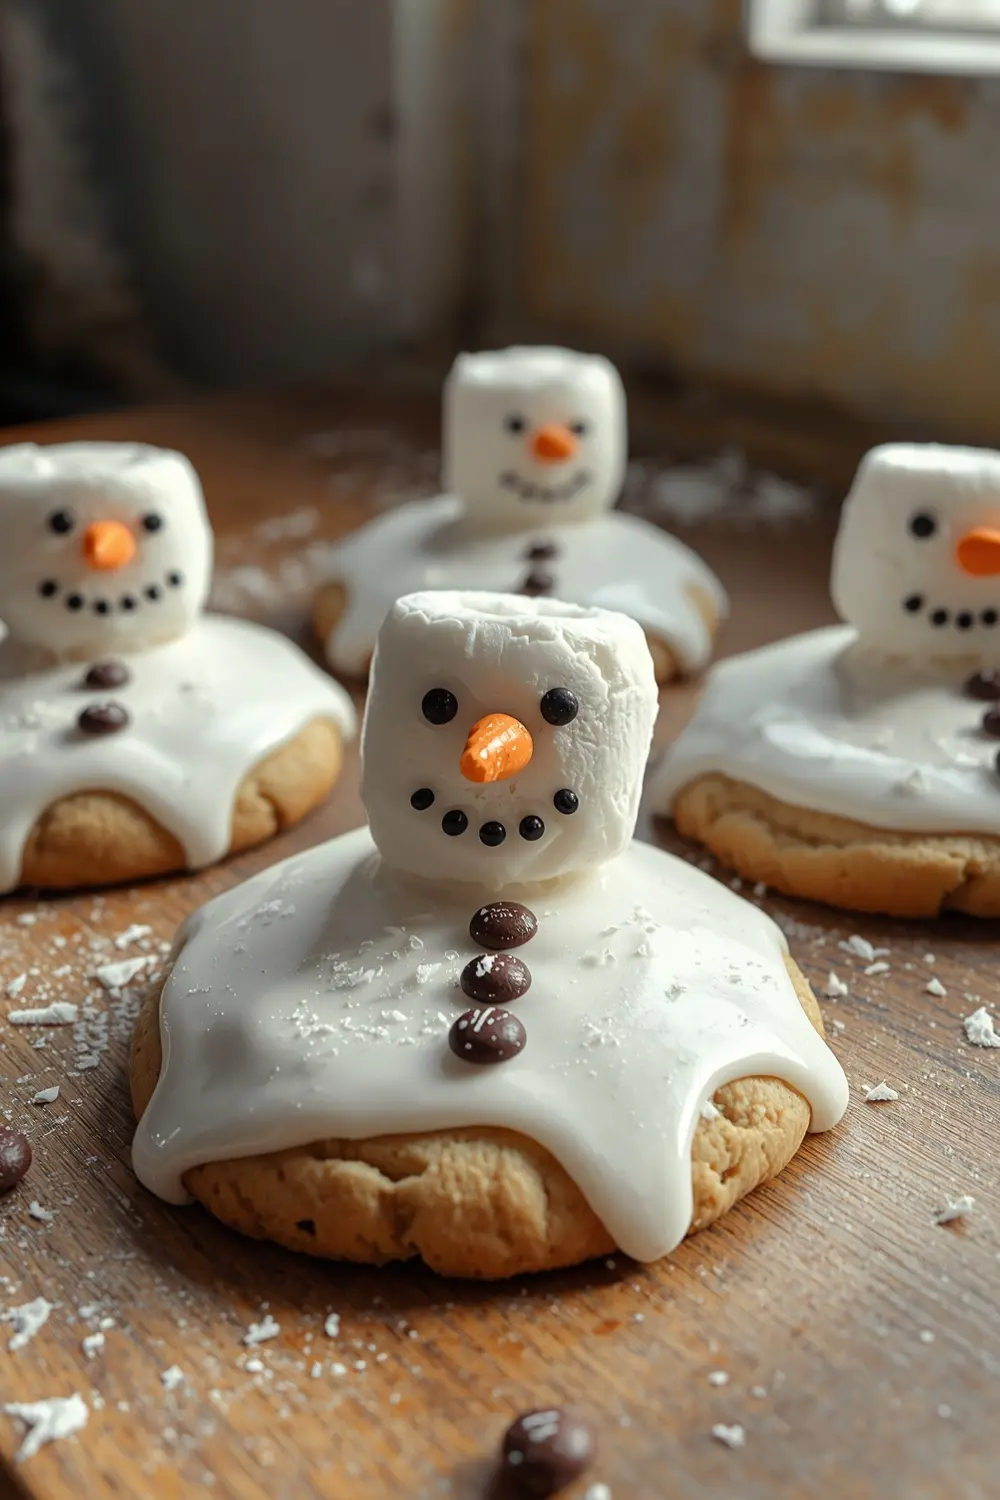
Melted Snowman Cookies are the perfect treat for a snowy winter’s day. Imagine biting into a sweet, vanilla-flavored cookie, with a gooey marshmallow on top and chocolate M&Ms buttons. The combination of flavors and textures is absolute perfection. As you take a bite, the royal icing drips down, creating a fun and playful effect.
The smell of freshly baked cookies wafts through the air, enticing everyone to gather around the kitchen island. The sound of happy chatter and the sight of little hands helping to decorate the cookies make this a truly special experience. And, of course, the taste of the sweet and tangy royal icing is the perfect complement to the soft and fluffy marshmallows.
So, if you’re looking for a fun and easy recipe to make with your kids or friends, look no further than Melted Snowman Cookies. They’re the perfect combination of sweet and fun, and are sure to become a new favorite.
Why You’ll Love This Recipe
Making Melted Snowman Cookies is a fun and easy process that’s perfect for kids and adults alike. The use of royal icing and marshmallows adds a creative touch, and the end result is a delicious and adorable cookie that’s sure to put a smile on everyone’s face.
One of the best things about this recipe is the joy of making it with kids. They’ll love helping to frost the cookies, add the marshmallows, and decorate with M&Ms and black gel food color. And, of course, they’ll love eating the finished product even more!
So, if you’re looking for a fun and easy recipe to make with your kids or friends, look no further than Melted Snowman Cookies. They’re the perfect combination of sweet and fun, and are sure to become a new favorite.
Ingredients
- 12 sugar cookies
- 2 cups royal icing
- 6 marshmallows, cut in half
- Long orange sprinkles
- M&Ms
- Black gel food color
Ingredient Notes & Substitutions
If you don’t have royal icing, you can make your own using powdered sugar and water. Simply mix together 1 cup of powdered sugar and 2-3 tablespoons of water until you get the desired consistency.
You can also use store-bought sugar cookies if you don’t have time to make your own. Just be sure to choose a brand that is soft and fresh.
For the marshmallows, you can use either large or mini marshmallows, depending on your preference. If you use large marshmallows, you may need to adjust the amount of royal icing you use to frost the cookies.
Some other ingredients you can use to decorate your Melted Snowman Cookies include coconut flakes, chocolate chips, and candy canes. You can also use different types of sprinkles or nonpareils to add some extra color and fun to your cookies.
Equipment Needed
To make Melted Snowman Cookies, you’ll need a few pieces of equipment, including:
- Piping bags
- Tips for piping bags
- Spoon for thinning icing
- Plate or tray for assembling cookies
You’ll also need a surface to work on, such as a countertop or table. And, of course, you’ll need a way to clean up any messes you make along the way!
Step-by-Step Instructions
- Divide the 2 cups of royal icing, setting aside 1/2 cup in a separate bowl.
- Dye the reserved 1/2 cup of royal icing black using the black gel food color until your desired shade of black is reached.
- Thin the black royal icing to a 15-second consistency (meaning if you lift your spoon, the line of icing on the surface disappears in 15 seconds).
- Transfer the thinned black icing to a piping bag and snip off a small tip.
- Thin the remaining royal icing (white) to a 10-second consistency.
- Transfer the thinned white icing to a separate piping bag and snip off a small tip.
- Frost each of the 12 sugar cookies generously with the white royal icing, allowing it to naturally drip over the sides to create a “melted” effect.
- Immediately place one of the 6 marshmallows (cut in half) towards the top back edge of each frosted sugar cookie, gently pressing into the wet icing to secure it as the snowman’s head.
- Arrange M&Ms on the wet white icing to represent buttons on the snowman’s body.
- Pipe black stick arms “floating” out from the marshmallow head using the black royal icing while the white icing is still wet.
- Allow the decorated cookies to set for 20-30 minutes, or until the white icing is partially dry to the touch.
- Decorate the marshmallow “head” of each snowman by piping two eyes and a surprised ‘O’ for a mouth using the black royal icing.
- Attach a long orange sprinkle to each marshmallow “head” to create a nose, using a tiny dab of any leftover white royal icing if needed to secure it.
Visual Guide & Tips
As you work through the instructions, be sure to keep an eye on the consistency of your royal icing. You want it to be thin enough to pipe easily, but not so thin that it becomes too runny.
When frosting the cookies, be sure to use a generous amount of icing to create a “melted” effect. You can also use a spatula or knife to spread the icing and create a smooth surface.
When decorating the cookies, be sure to have fun and be creative! You can use different types of sprinkles or nonpareils to add some extra color and fun to your cookies.
Expert Tips & Troubleshooting
Making Melted Snowman Cookies can be a fun and easy process, but there are a few common mistakes to watch out for. Here are some expert tips and troubleshooting advice to help you make the perfect cookies:
- Achieving the Right Icing Consistency: To get the right consistency for your royal icing, be sure to mix it well and adjust the amount of water you add. You want the icing to be thin enough to pipe easily, but not so thin that it becomes too runny.
- Working with Marshmallows: To prevent marshmallows from becoming soggy, be sure to handle them gently and avoid exposing them to too much moisture. You can also use a dab of royal icing to secure the marshmallow to the cookie and prevent it from falling off.
- Storage and Handling: To store your Melted Snowman Cookies, be sure to place them in an airtight container and keep them at room temperature. You can also freeze the cookies for up to 2 months and thaw them at room temperature when you’re ready to serve.
Some other common mistakes to watch out for when making Melted Snowman Cookies include:
- Overmixing the Royal Icing: Be sure to mix the royal icing just until it’s combined, and avoid overmixing it. This can cause the icing to become too stiff and difficult to pipe.
- Not Allowing the Icing to Set: Be sure to allow the icing to set for at least 20-30 minutes before serving the cookies. This will help the icing to harden and prevent it from becoming too sticky or runny.
- Not Handling the Marshmallows Gently: Be sure to handle the marshmallows gently and avoid exposing them to too much moisture. This can cause the marshmallows to become soggy and fall off the cookie.
Storage & Freezing
To store your Melted Snowman Cookies, be sure to place them in an airtight container and keep them at room temperature. You can also freeze the cookies for up to 2 months and thaw them at room temperature when you’re ready to serve.
When freezing the cookies, be sure to place them in a single layer on a baking sheet and freeze until solid. Then, transfer the cookies to an airtight container or freezer bag and store in the freezer.
When thawing the cookies, be sure to allow them to come to room temperature slowly. You can do this by leaving them at room temperature for a few hours, or by thawing them in the refrigerator overnight.
Frequently Asked Questions (FAQ)
Here are some frequently asked questions about making Melted Snowman Cookies:
Q: How do I prevent the marshmallows from getting soggy?
A: To prevent marshmallows from getting soggy, be sure to handle them gently and avoid exposing them to too much moisture. You can also use a dab of royal icing to secure the marshmallow to the cookie and prevent it from falling off.
Q: Can I make these cookies ahead of time?
A: Yes, you can make Melted Snowman Cookies ahead of time. Simply bake and decorate the cookies as directed, and then store them in an airtight container at room temperature or freeze them for up to 2 months.
Q: What type of sugar cookies should I use for this recipe?
A: You can use either homemade or store-bought sugar cookies for this recipe. If you’re using store-bought cookies, be sure to choose a brand that is soft and fresh.
Q: Can I use different types of icing for this recipe?
A: Yes, you can use different types of icing for this recipe. However, royal icing is the best choice because it’s easy to work with and dries quickly. You can also use powdered sugar icing or cream cheese icing, but be sure to adjust the consistency and flavor as needed.
Q: How do I achieve the “melted” effect on the cookies?
A: To achieve the “melted” effect on the cookies, be sure to use a generous amount of royal icing and allow it to drip over the sides of the cookie. You can also use a spatula or knife to spread the icing and create a smooth surface.
Q: Can I customize the decorations on the cookies?
A: Yes, you can customize the decorations on the cookies to fit your theme or preferences. Some ideas include using different types of sprinkles or nonpareils, adding coconut flakes or chocolate chips, or using candy canes or other holiday-themed decorations.
Nutritional Information (Approximate)
Here is the nutritional information for Melted Snowman Cookies:
- Calories: 256
- Protein: 2g
- Carbs: 46g
- Fat: 12g
- Sugar: 45g
Please note that this is an approximate calculation and may vary depending on the specific ingredients and portion sizes used.
Conclusion
Melted Snowman Cookies are a fun and easy recipe to make, and they’re perfect for a snowy winter’s day. With their sweet and tangy royal icing, soft and fluffy marshmallows, and crunchy M&Ms, they’re a treat that’s sure to delight both kids and adults.
So why not give Melted Snowman Cookies a try? They’re a great way to get into the holiday spirit, and they make a wonderful gift for friends and family. And don’t forget to share your creations with me on social media by tagging me @EvasRecipes or pinning them on Pinterest!
Did you make this? Pin it on Pinterest or tag me on Instagram @EvasRecipes! I’d love to see your creations and hear about your experiences with this recipe. Happy baking, and I’ll see you in the next recipe!
Melted Snowman Cookies
Ingredients
Method
- Divide the 2 cups of royal icing, setting aside 1/2 cup in a separate bowl.
- Dye the reserved 1/2 cup of royal icing black using the black gel food color until your desired shade of black is reached.
- Thin the black royal icing to a 15-second consistency.
- Transfer the thinned black icing to a piping bag and snip off a small tip.
- Thin the remaining royal icing (white) to a 10-second consistency.
- Transfer the thinned white icing to a separate piping bag and snip off a small tip.
- Frost each of the 12 sugar cookies generously with the white royal icing, allowing it to naturally drip over the sides to create a 'melted' effect.
- Immediately place one of the 6 marshmallows (cut in half) towards the top back edge of each frosted sugar cookie, gently pressing into the wet icing to secure it as the snowman's head.
- Arrange M&Ms on the wet white icing to represent buttons on the snowman's body.
- Pipe black stick arms 'floating' out from the marshmallow head using the black royal icing while the white icing is still wet.
- Allow the decorated cookies to set for 20-30 minutes, or until the white icing is partially dry to the touch.
- Decorate the marshmallow 'head' of each snowman by piping two eyes and a surprised 'O' for a mouth using the black royal icing.
- Attach a long orange sprinkle to each marshmallow 'head' to create a nose, using a tiny dab of any leftover white royal icing if needed to secure it.